Friday, April 30, 2010

Foodie Friday -- Tasty Treats for Mom

Here are some special treats you can fix for Mother's Day that are sure to please.  If you scroll down to the bottom, you can also see the birthday cake I made for my hubby last week.

Homemade Oreos
  • 1 German Chocolate Cake Mix
  • 2 eggs
  • 1/2 cup oil
  1. Mix all ingredients thoroughly.  Dough will be pretty thick.
  2. Roll into 1 inch balls and place on cookie sheet about 1.5 to 2 inches apart.  (should make about 48 dough balls)
  3. Bake at 350 for 8-10 minutes.  You know they are done when the tops crinkle.
  4. Let cool on pan for 2-3 minutes and then place on cooling rack.
  5. While cooling make the frosting (recipe below)
  6. Frost the bottom side of one cookie and then sandwich it together with the bottom side of another cookie.

Buttercream Frosting
  • 1/2 cup butter, softened
  • 1/2 cup shortening
  • 1 tsp clear vanilla (or another flavoring extract)
  • 4 cups powdered sugar
  • 4-6 Tbsp water (or amount needed to get proper consistancy)
  • Food coloring if desired.
  1. Cream butter and shortening together.
  2. Add powdered sugar and mix well.  Add vanilla and water a Tbsp at a time until you get to the correct consistancy.
  3. Add food coloring if desired.
This is such a quick and easy recipe that takes very little time.  My kids love to help make these and they taste great too.  Can't beat that!  Any mother on your list would love to get these for a treat.  Or you could accidentally leave your computer on with this page pulled up and maybe the man in your life will get the brilliant idea that you would like these for Mother's day.  HINT! HINT!

What?  A girl can dream...right?!

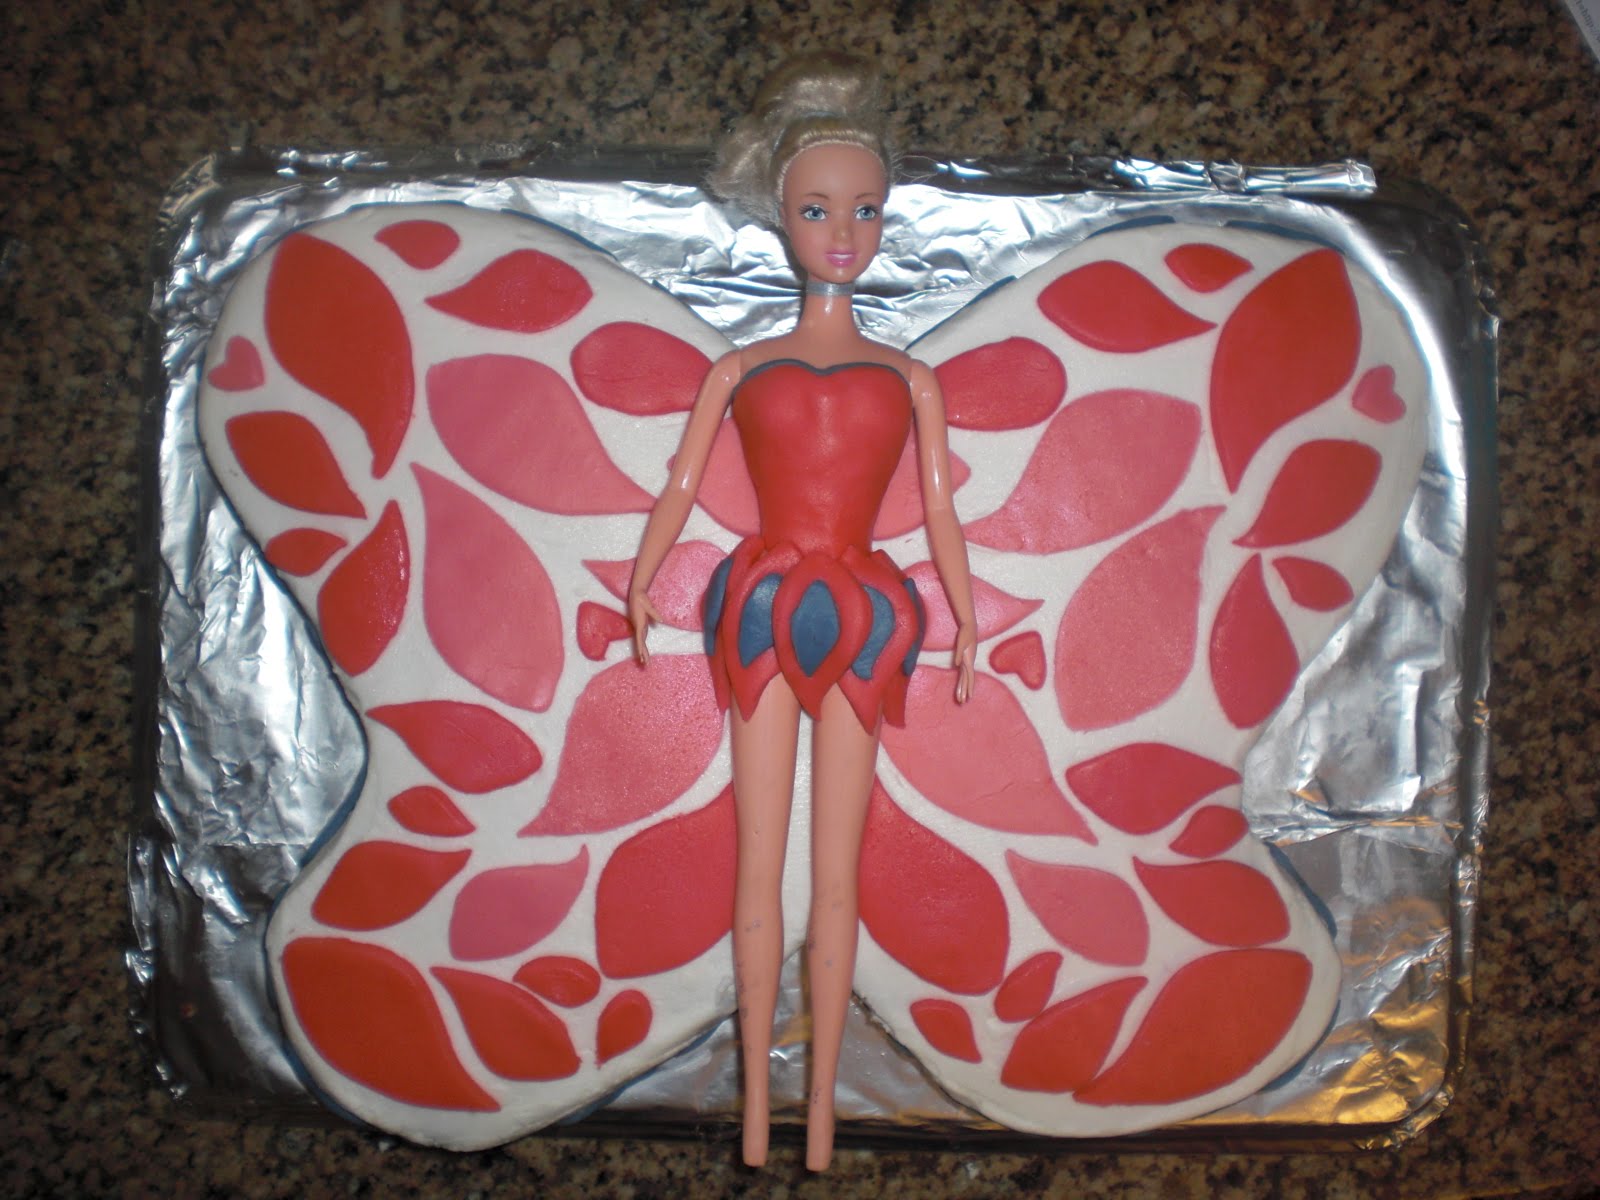
As promised, here are the pics of the Transformer Birthday Cake I made for my hubby.  His birthday is 3 days after E's birthday, so we spent the week gorging on sugar celebrating together.  It was so fun.

Each year the kids decide what kind of cake I should make for Dad.  Last year was R2D2.  That cake just about did me in!  Decorating it was what made me decide to learn how to make and use fondant.  This year they decided on Transformers.

The cake is just a yellow cake mix.  The frosting is Chocolate Buttercream (same recipe as above except add a heaping 1/4 cup cocoa powder.  The Transformer face is made of marshmallow fondant.

I think it turned out pretty well.  I wish I would have covered the entire cake in fondant to give it a more smooth finish, but I was pressed for time, so I only did the face.  It still looks good though.

p.s.  My son just gave me a hug and patted my stomach and asked me why my tummy is getting so big.  NICE!  I think next week's Foodie Friday will be a recipe for a super healthy, low fat, low calorie, and absolutely delicios Something or Other.  :)

I'm linking this up to these blogs.  Go check them out!
Blog+Button+to+size.jpgJoin us Saturdays at tatertotsandjello.com for the weekend wrap up party!

Thursday, April 29, 2010

Thoughtful Thursdays -- Motherhood

Since Mother's day is just around the corner, I thought I would spend the next couple of Thoughtful Thursdays talking about motherhood.

When I think about motherhood I of course think about my own mother and all that she did for me.  I also think about my children and how special they are to me...yes, even when this happens.  However, I also think about all of the women in my past, present, (and future) who have mothered me when I needed it.  Women at church, mother's of my friends, my sisters, even college roommates come to mind.  I can think of numerous times when I needed someone to comfort me, help me, listen to me, and even scold me and these women filled the role of mother when I needed it.  I also think of all of the people in my life who I have been able to help and hopefully fill the role of mother when they needed it.

Having or not having babies does not make a mother.  Having a mothering heart makes a mother.  So here's to all of the women out there who have mothered me.  Thank you so much!

"A mother is the truest friend we have, when trials heavy and sudden, fall upon us; when adversity takes the place of prosperity; when friends who rejoice with us in our sunshine desert us; when trouble thickens around us, still will she cling to us, and endeavor by her kind precepts and counsels to dissipate the clouds of darkness, and cause peace to return to our hearts.” --Washington Irving

Wednesday, April 28, 2010

Whatever Wednesday -- Simple Mother's Day Gift

Mother's Day is just around the corner and I have a few kid friendly gift ideas.
I found these stinkin' cute little flower pots on sale at Michael's a few weeks ago. $1.50 for the little ones and $3.00 for the bigger one. I also had a packet of Zinnia seeds left over from last year, so we planted some flowers for all of the pre-schooler moms. Here's the How to.
Add some rocks to the bottom of your pots. This allows for proper drainage. You don't like to have wet feet and neither to flowers!

Fill the rest of the pot with moist but not wet dirt.

Make a 1/4 in. deep hole with your finger tip and place your seed inside. Lightly cover with dirt. In pots this size, you only need a couple of seeds. We used more seeds because they were from last year and I wanted to make sure each pot had at least one plant in it.

Where I live it is still cold outside, so mine are sitting on the kitchen counter where they can get some sun. If it is warm where you are, you can put them outside, but make sure they are somewhat sheltered. Water every other day or so. You want to keep the dirt evenly moist, but you don't want too much. In 7-10 days you will see your seeds sprouting.

You will also have to replant outside once it is 4-6 inches tall and has several small leaves.

Now, make one of these cute cards and you are all set!

I'm also linking up to these sites. Go check them out.


Show and Tell Green

Tuesday, April 27, 2010

Transform Tuesday -- DIY Chore Chart

We had 4 kids in 4.5 years.  The oldest just turned 7 and the youngest is 2.5 years.  If I am not organized, our home is pure chaos.  A couple of years ago I made a chore chart for the two oldest.  It worked well and served its purpose.  However, it was out dated and only had spots for 2 kids to do chores.  I think even the littlest kids are capable of helping, so we start them off with simple tasks at a pretty young age.  I needed a long term chore chart that could accommodate 4 kids and that could be changed as necessary.  I spent a lot of time thinking and researching before I finally settled on a plan.  Then I tweaked it to fit our needs.

Here is the Before:

Here is the After:

I used a magnetic dry erase board that we got from Costco.  We actually got it for something else, but didn't need it anymore.

I bought this chore chart clipart.  Since we don't have a color printer, I printed them in black and white and then colored them myself.  I laminated them and then put magnet stickers on the back.

I bought these stickers to put on these magnets.  Now each of my kids has their own color.  We already do the color thing for dishes, utensils, and cups, so the kids know which color is theirs.

I also found these super cute day of the week magnets on clearance at Walmart and they fit perfectly. 

Lastly, I drew lines on the dry-erase board.  I thought about using vinyl and cutting strips to make the grid, but I didn't want to take the time.  I may go back and do it later though. 

And there you have it.  An easy to follow Chore Chart for multiple kids to use at the same time.

What Before and After do you have to share?  Link it up so we can all see!!

1.  Link to the actual post, not directly to your blog.
2.  Grab my button from here and put in your post so everyone else can find our linky party.
3.  Go check out everyone else's stuff.  Don't forget to leave them (and me) some comment love!

I'm also linking up to these blogs.  Go check them out.
DIY Day @ ASPTLTalk About it Tuesday
Organize and Decorate Everything Blog+Button+to+size.jpg


Monday, April 26, 2010

Messy Monday -- DIY Puff Paint Art

This is seriously so fun!  My kids love this craft project and it is one that I really enjoy doing with them.  It is quick, easy, and cleans up in a snap.  Non-toxic and doesn't stain anything.  Can't beat that!!

Ingredients
  • 1 Tbsp Self rising flour
  • 1 Tbsp table salt
  • 4 tsp. water
  • a few drops of food coloring
  • Q-tips
  • small containers
In a small container mix the first 3 ingredients together until a completely smooth paste forms.  Add a few drops of desired food coloring to each container.

Using Q-tips, "paint" on your paper.  You can free-hand it or print out a coloring page for your kids to paint.  We printed Mother's Day cards from this site.  It also has some other fun coloring pages you can print for free.  The thicker the paint, the puffier it will be, but be careful not to soak your paper.

When you are done painting, lay it flat in the microwave and cook for 10 seconds (or until the paint is dry).  Pull it out and watch your kids "ooohhh" and "aaahhh" at how cool it is and what amazing artists they are.

You could also decorate regular paper, cut it down to size and use them as note cards.  Gramdmas would LOVE this. Get creative and have fun!!

Now it's your turn.  What have you done for Messy Monday?  Link it up!!

If you are participating in Meessy Monday, please be sure to add your permalink below, and not your general blog address. To get your permalink, click on your post name, then just copy and paste the address that shows up in the address bar at the top, into the "url" box for the picture linky.

Please copy and paste the Messy Monday logo button to your computer. Then you can upload it to your side bar and use it in your MM post so your visitors will know you are participating.  Click here to grab the html code for the Messy Monday button.

Please link back to the host blog, The Pumpkin Patch. This is important because it helps those who are visiting your blog, find everyone else's "Messy Mondays" projects.

Please do not add your link below, until your Messy Monday post is actually published to your blog.

The MckLinky tool isn't working.  I double checked everything on my end and it isn't an issue with my site.  It is something with MckLinky.  So, if you want to link up, just add a comment and we will try again next week.  Thanks!!

I'm also linking up to these amazing blogs.  Go see what everyone else is up to.


Friday, April 23, 2010

Foodie Friday -- Birthday cake anyone?

As I mentioned here, it was E's birthday this week.  Every year I let the kids decide what type of birthday cake they want.  At first it was pretty easy, but as they have gotten older, their cake requests have gotten more challenging.  E wanted a Barbie Mariposa (butterfly) cake

I used 2 cake mixes in a large pan that my neighbor gave me.  She said it could hold 2 mixes, but I had never tried it before.  As it was baking it started rising higher and higher and I started panicking.  I thought for sure it was going to spill out of the pan and all over my oven.  It got right up to the tippy top and even a little higher, but never did overflow.  Thankgoodness!!!

And here is the finished cake!

Today is my hubby's birthday, and I have big plans for his cake.  Check back next friday for the pics!

I'm also linking this up these sites.  Go check them out and see what everyone else is up to.


giveaways
Favorite%2BThings%2BFridaybig%2Bbutton.jpg