Here is the before picture of the flowers.

I got the white hydrangeas from Costco for $8.99. Then I went to Kroger and got the greenery and the pale pink carnations. Normally I would choose roses for a Bride's bouquet, but the carnations were the right color AND the right price. I got the greenery and carnations for $8.43. I got the 2 in. pink satin ribbon at Wal-mart for $1.50. That is a total of $18.92. I already had floral tape, floral wire, and pearl headed corsage pins.
1. Lay the flowers and greenery out so you can see what you are working with and remove all of the leaves (and thorns if using roses) on the flower stems. Also remove all of the leaves on the greenery except for the top 3-4 inches.


2. I had 4 stems of hydrangeas, and I only needed 2, so I picked the ones that "fit" together the best. Hold them semi-loosely in your non-dominant hand.


3. Carefully add in the carnations (or roses) making sure they are evenly distributed and maintain the dome shape of the bouquet. Re-adjust as necessary. With carnations you have to be extra careful because they have joints on the stem and the flower can be popped off if the stem gets bent too much at one of the joints.

4. Add the greenery. If you have long shoots, add them sparingly in the center. If you have eucalyptus or any type of leaf, then add it to the sides. Once you are done adding the greenery, take a 3 foot long piece of ribbon or twine and wrap it around the stems several times and tie off. Do this just above your hand using your thumb to hold the ribbon in place.


5. Trim the extra ribbon and starting just above your ribbon wrap the stems in floral tape. Wrap all the way down and then wrap back up again. (The rule of thumb is to wrap it about 1.5 hand lengths.) Don't worry, this will be covered with ribbon and you won't see it.

6. Next, take the edge of your ribbon (leaving it attached to the role of ribbon) and tuck it into the bouquet. Wrap your ribbon around the stems going down far enough to cover your tape and then wrap it back up again. Once you get back to the top, cut your ribbon leaving 2-3 inches extra.


7. Fold the ribbon over and use your pearl headed corsage pins to secure in place. Make sure to push the pins upward and into the stems of the flowers. This will secure the ribbon and keep the pins from pricking the bride.

At this point, you need to trim the stems below your ribbon. Cut them leaving 1-1.5 inches showing from the bottom of your ribbon.
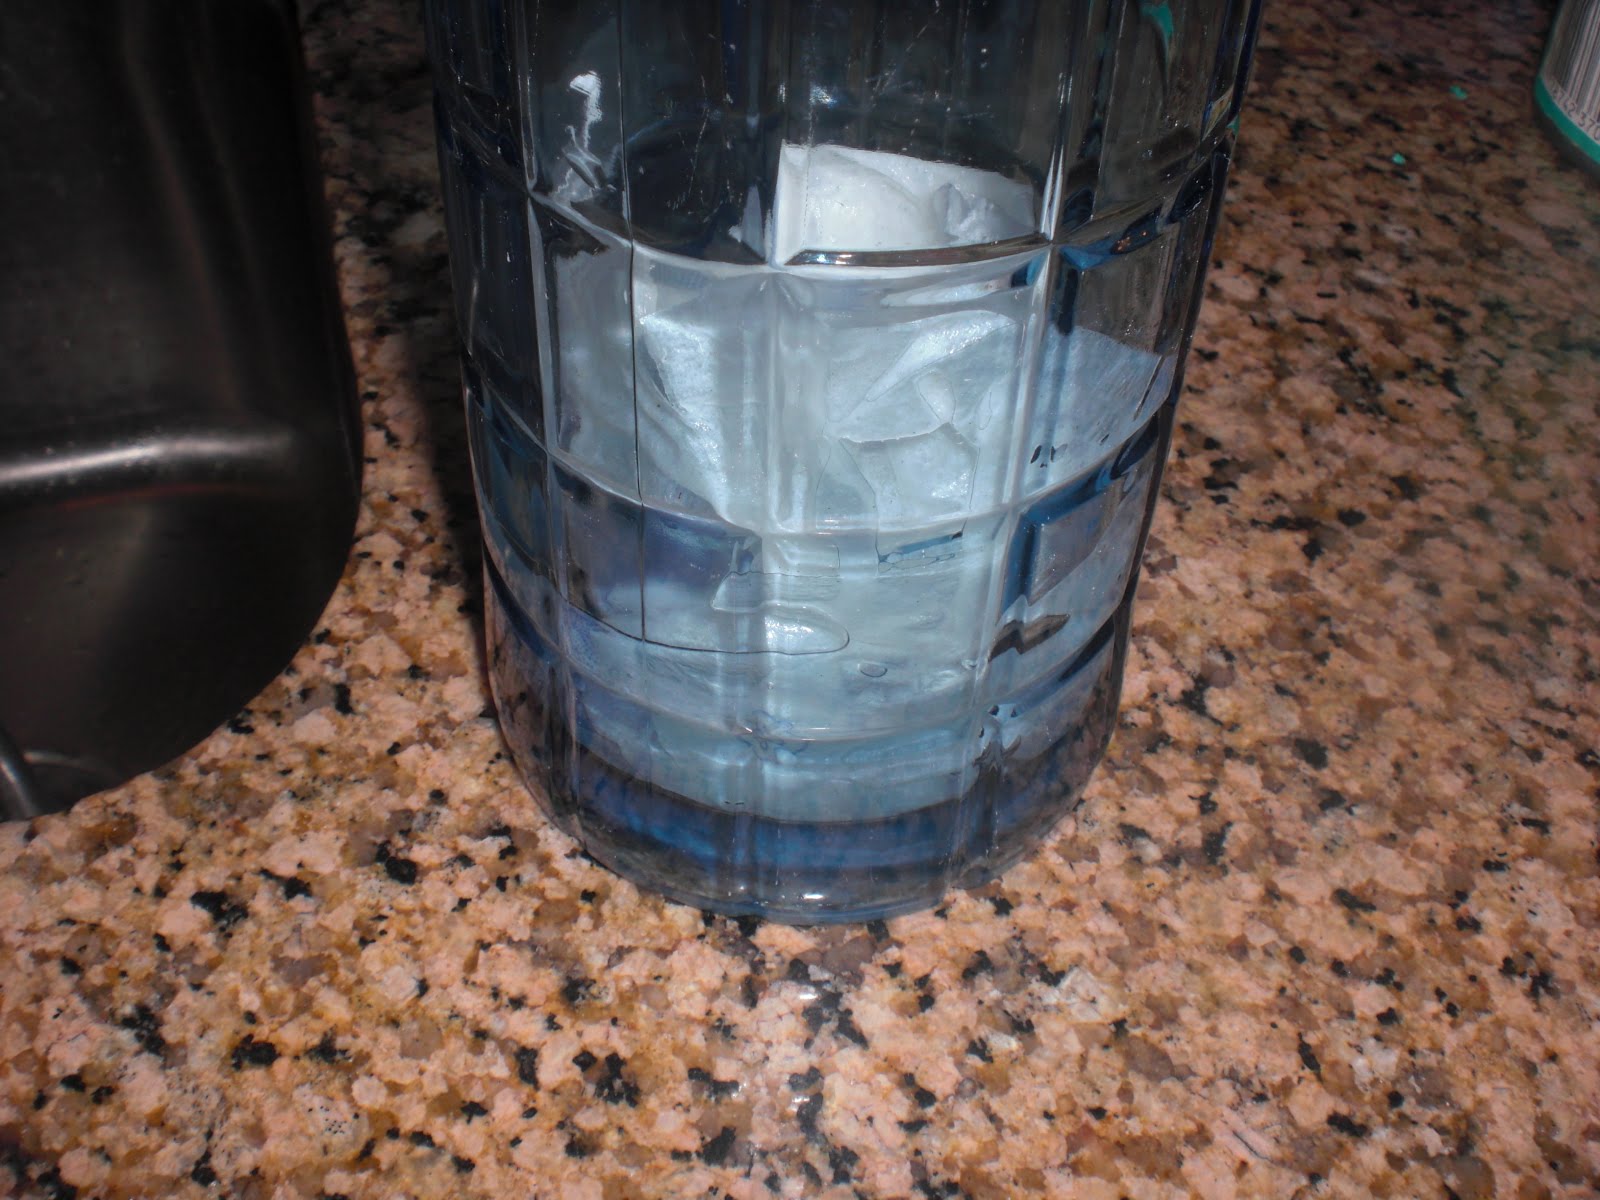
You are done!! If your bouquet won't be used immediately, place some paper towels into the bottom of a cup or vase with an inch or two of water. Place your bouquet into the vase making sure that the ribbon does not get wet.
And here is the after. Keep in mind that a normal Bride's bouquet would be about twice this size. I used 2 hydrangea stems and would normally use 3-4. I also only used 5 carnations and would normally use 8-10, and I would atleast double the greenery as well.


And here is the boutonniere that I made for the groom. Again she wanted it to match her bouquet and not be too big.
So, what have your transformed?! Link it up!! Here are the rules:
If you are participating in "Transform Tuesday", please be sure to add your permalink below, and not your general blog address. To get your permalink, click on your post name, then just copy and paste the address that shows up in the address bar at the top, into the "url" box for the picture linky.
Please copy and paste the "Transform Tuesday" logo button to your computer. Then you can upload it to your side bar and use it in your TT post so your visitors will know you are participating.
Please link back to the host blog, The Pumpkin Patch. This is important because it helps those who are visiting your blog, find everyone else's "Transform Tuesday" projects.
Please do not add your link below, until your "Transform Tuesday" post is actually published to your blog.


Please do not add your link below, until your "Transform Tuesday" post is actually published to your blog.


4 comments:
The bouquet is lovely, nice choice of flowers and colors. Thank you for hosting a blog party, I'll try to be back often!
so pretty! that would look great in a vase, bring a little sping into the house :O)
I came back and posted another project to your party. Hope you don't mind!
Really pleased with your work. You have prepared a beautiful bouquet and the color combination is just perfect. Have purchased a bouquet from Florist Delivery service for my sister’s wedding. It was a beautiful bouquet with different fresh flowers.
Post a Comment